Overview
By default, if organization members, or collaborators, are permitted to create codespaces that are billable to your organization, they can create multiple such codespaces. The number of organization-billed codespaces someone can create is governed by a limit to the total number of codespaces that they can create across all repositories they can access. This limit is set by GitHub.
As an organization owner, you can restrict the number of codespaces that each user can create, where the costs of the codespace are billable to the organization. This can help to reduce the overall cost of GitHub Codespaces to the organization, as there is a charge for codespace storage. For more information, see "About billing for GitHub Codespaces."
To restrict the maximum number of organization-billed codespaces that users can create, you create a policy in the Codespaces settings for your organization. For example, if you set the maximum to 2, users who already have 2 active or stopped codespaces that are billed to your organization will have to delete one of these before they can create a new codespace that's billed to the organization.
This setting does not restrict users from creating codespaces that are not billed to your organization. For example, they can create additional codespaces for public repositories, using their personal Codespaces usage allowance. However, users who are permitted to create organization-billed codespaces, but have reached the limit for such codespaces, cannot choose to create a codespace for an organization-owned repository using their personal included allowance.
For information about the free use of GitHub Codespaces for personal accounts, see "About billing for GitHub Codespaces." For information on how to choose who can create codespaces that are billed to your organization, see "Enabling or disabling GitHub Codespaces for your organization."
Policies with the "Maximum codespaces per user" constraint are applied to every repository in your organization. You can't, therefore, add this constraint to an existing policy that is configured to apply only to selected repositories.
Adding a policy to define the maximum codespaces per user
-
In the upper-right corner of GitHub, select your profile photo, then click Your organizations.
-
Next to the organization, click Settings.
-
In the "Code, planning, and automation" section of the sidebar, select Codespaces then click Policies.
-
On the "Codespaces policies" page, click Create Policy.
-
Enter a name for your new policy.
-
Click Add constraint and choose Maximum codespaces per user.
-
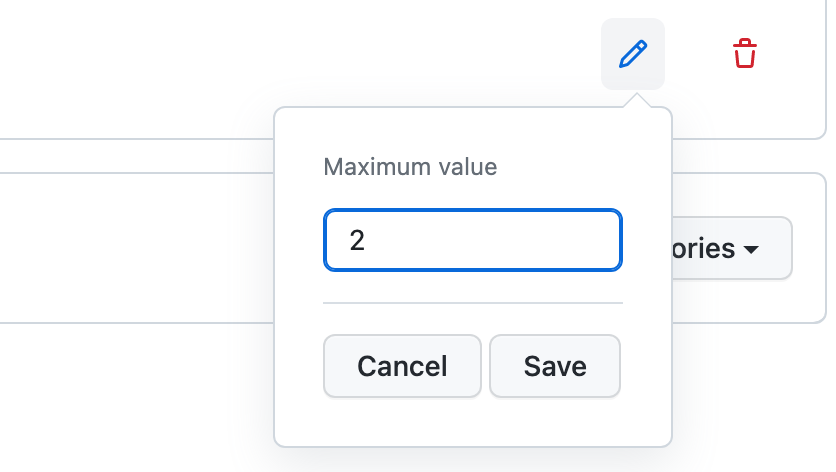
Click to edit the constraint.
-
In the "Maximum value" field, enter the maximum number of organization-billed codespaces that each user can create.

-
Click Save.
-
If you want to add another constraint to the policy, click Add constraint and choose another constraint. For information about other constraints, see:
Note
When you add a constraint to a policy that already contains the "Maximum codespaces per user" constraint, you won't be able to restrict the additional constraint to specific repositories, as the "Maximum codespaces per user" constraint applies to all repositories in the organization.
-
After you've finished adding constraints to your policy, click Save.
The policy is applied when anyone attempts to create a new codespace that is billable to your organization.
Editing a policy
You can edit an existing policy. For example, you may want to add or remove constraints to or from a policy.
- Display the "Codespaces policies" page. For more information, see "Adding a policy to define the maximum codespaces per user."
- Click the name of the policy you want to edit.
- Beside the "Maximum codespaces per user" constraint, click .
- Edit the maximum number of codespaces.
- Click Save.
Deleting a policy
- Display the "Codespaces policies" page. For more information, see "Adding a policy to define the maximum codespaces per user."
- Click to the right of the policy you want to delete.