About managing bots or service accounts with two-factor authentication (2FA)
You should ensure that 2FA is enabled for unattended or shared access accounts in your organization, such as bots and service accounts, so that these accounts stay protected. Enabling 2FA for a bot or service account ensures that users must authenticate with 2FA to sign in to the account on your GitHub Enterprise Server instance. It does not affect the account's ability to authenticate with its existing tokens in automations.
Note
When you require use of two-factor authentication for your organization, unattended accounts that do not use 2FA will be removed from the organization and will lose access to its repositories.
Managing shared access to bots or service accounts with 2FA
GitHub recommends the following steps for managing shared access to bots or service accounts with 2FA enabled. The steps ensure that only people who have access to a mailing list (controlled by you) and a centrally stored TOTP secret can sign in to the account.
-
Set up a mailing list for the bot or service account which has all of the account owners as members of the alias.
-
Add the new mailing list address as a verified email address in the settings of the shared account. For more information, see "Adding an email address to your GitHub account."
-
If you haven't already done so, configure 2FA for the bot or service account using an authenticator app (TOTP). For more information, see "Securing your account with two-factor authentication (2FA)."
-
Store the TOTP secret that's offered during 2FA setup in the password manager used by your organization.
Note
Don't store the password for the shared account in the password manager. You will use the password reset functionality every time you need to sign in to the shared account.
If you have already configured 2FA using TOTP and you need to locate the TOTP secret, use the following steps:
-
In the shared account's settings, click Password and authentication.
-
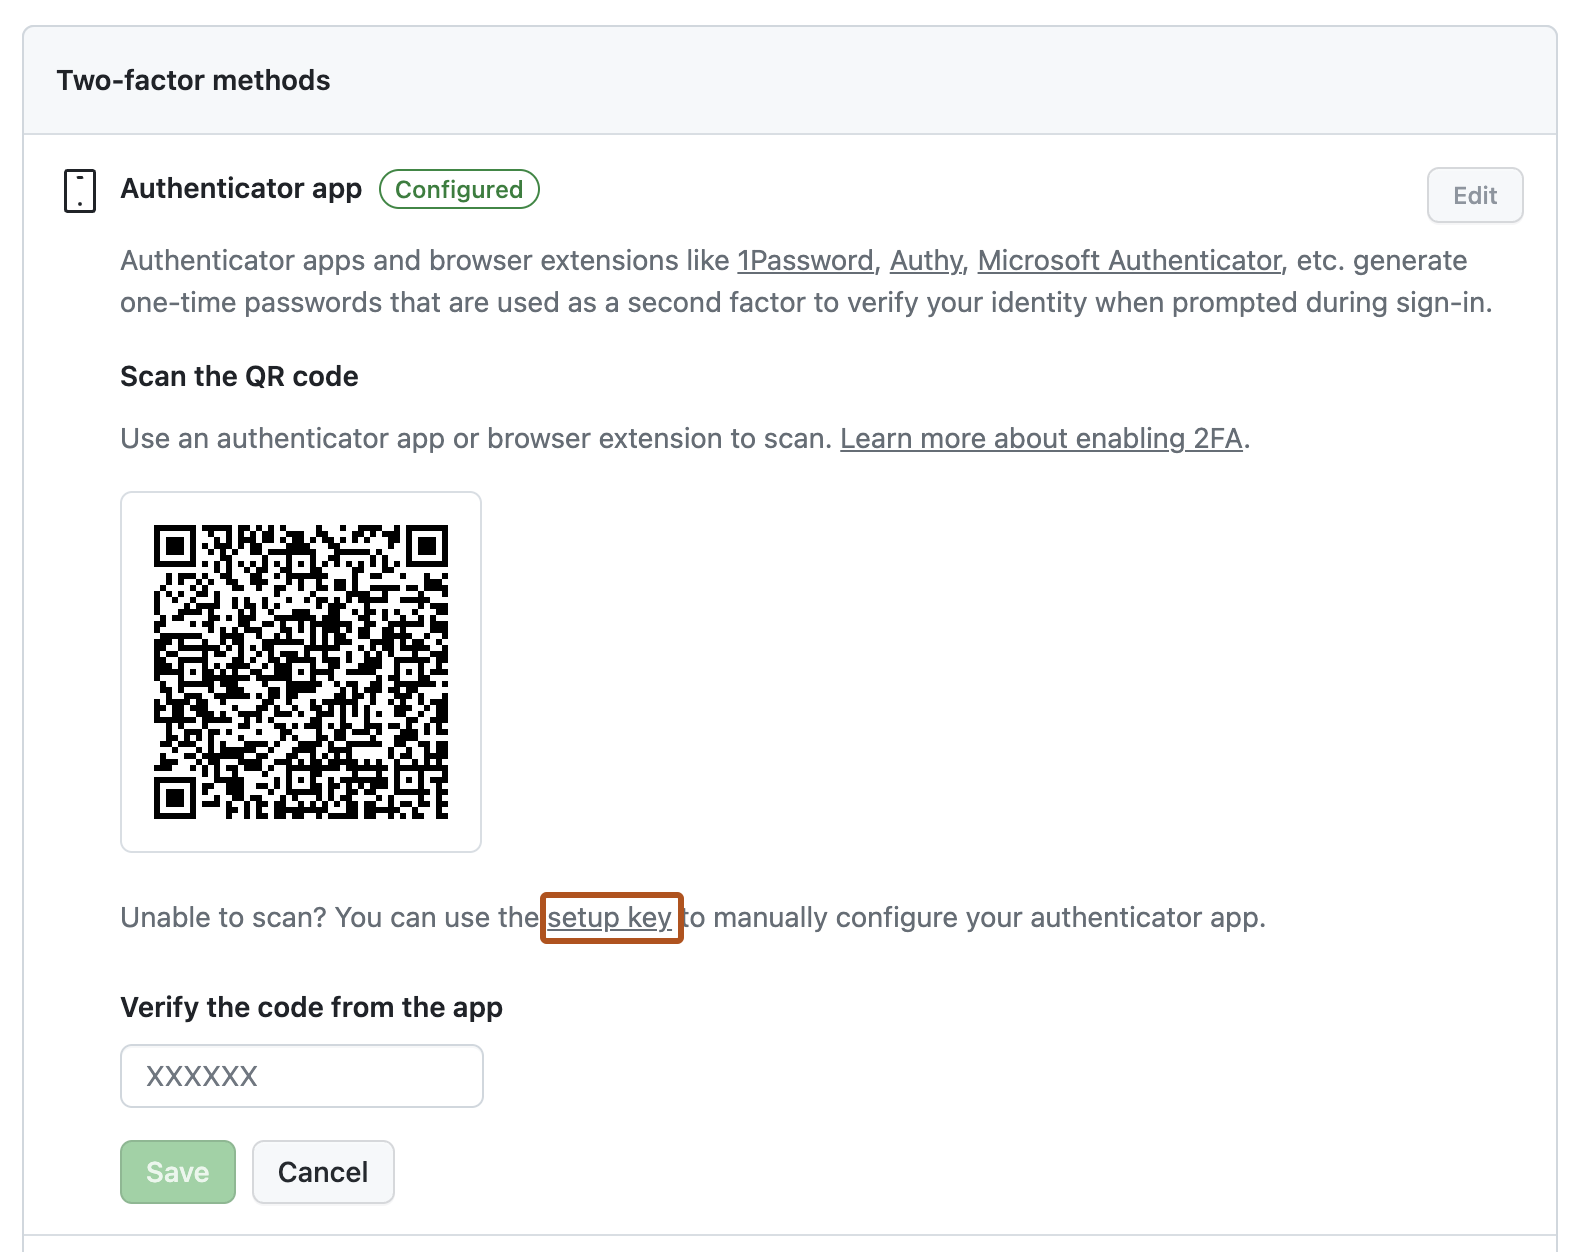
Under "Two-factor methods", to the right of "Authenticator app", click Edit.
-
In "Authenticator app", immediately below the QR code, click setup key.

-
Copy the secret that's displayed in the dialog box.
-
Reconfigure 2FA using the copied secret.
-
-
Select a CLI app (such as oathtool) for generating TOTP codes from the TOTP secret. You will use the app to generate a new TOTP code from the TOTP secret every time you need to access the account. For more information, see oathtool in the OATH Toolkit documentation.
-
When you need to access the account, use the password reset functionality to reset the password (via the mailing list), and use the CLI app to generate a TOTP code.